We have experimented with commercial glazes over the last month and weren't satisfied with their results. Hence, we have decided to create our glazes from scratch. I participated in a glazing workshop at Hickory Clay in SF in fall last year, which proved to be extremely helpful in this exercise.
First, we purchased John Britt's "The Complete Guide to Mid-Range Glazes". This book provides recipes for endless glaze possibilities. I romanticize about Porcelain, especially after reading Edmund De Waal's "The White Road". Porcelain's whiteness, delicacy, thinness, translucency with landscape colors is what I romanticize about. I want to wrap my fingers on a Porcelain piece and feel its warmth and nature to closeness, yet its fragility to the world we live in.
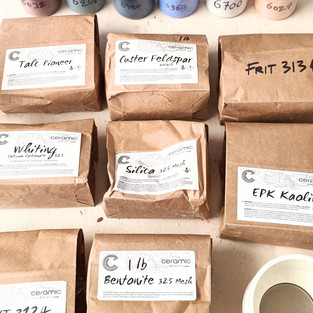
We selected John Satin's 2 Blue Celadon glaze. The chemicals and equipment were purchased from The Ceramic Store and Clay Planet. Test tiles, each measuring 4" x 1.5" were made from Sio-2 Aneto White Porcelain Clay and bisqued at cone 05.


This is the recipe for John's Satin 2, highlighted in grey are additional to make John's Satin's Celadon Blue. On the right image are the test tile numbers corresponding to the Mason's stain color code and % added.


Step 1: Weight and mix all the base ingredients together
Step 2: Add Barium Carbonate, Tin Oxide, Red Iron Oxide and Bentonite to the mixture for Blue Celadon. Otherwise, add 1-5% of Mason Stain to the mixture
Step 3: Add 1/2 cup of water, mix well
Step 4: Sieve through a 80 mesh 4-6 times, or until the mixture is extremely smooth
Step 5: Dip you test tile into the mixture, making sure you dip half of the test tile with 2 coats (ensure 1st coat is dry before you dip the 2nd coat)
Step 6: Let the test tile dry and fire it at Cone 06 (our kiln is a Skutt Firebox 8x6 so this is an electric oxidation test kiln)
Comments